“I watched the animation, Bilbo with my two young children, Ludo (3) and Violet (1). I thought it was a lovely little story and I particularly liked the illustrations. The use of colour worked really well, especially with the cat and the flowers. The cat was very lovable – he came across as rather mischievous. Both my children enjoyed watching the film and wanted to watch it more than once. Ludo initially asked where the cat had gone which provoked a conversation about death and heaven and I was able to relate the story to the recent departure of his Great Grandmother. On subsequent viewings he asked if the cat had gone to heaven and then proceeded to ask how he got there! I think it’s a great story to introduce the concept of death to small children as it depicts it as a sad life event but does it in a gentle and unthreatening way.
If I were to critique the animation, I would recommend that the owner showed more affection to the cat. He came across as a bit of a pest and a nuisance at times as he woke the owner up, knocked the petals off the flowers and stepped on the laptop. It might be an idea to introduce a couple of scenes where the cat is being stroked and is asleep on a lap for example. If the animation is aimed at small children, it also might be an idea to add some more characters, perhaps even a child, to present the cat as a much loved family cat.”
“It is inevitable that we will all experience bereavement at some point in our lives after the death of a partner, relative, friend or pet. Grief manifests itself in a range of different ways, and although we know it is an inevitability – how we understand death and accept it when it occurs can be unpredictable. “Bilbo” is a 2D stop motion animation, which illustrates the relationship between an owner and his cat – subtly approaching the idea of the cat’s passing – showing the void left, yet presenting the idea that life continues. My main intention for my animation is for it to act as a supportive film for young children dealing with the loss of a pet. I’d like for it to encourage the remembrance of a life, whilst also offering up conversation and discussion between parents and children – aiding explanation and support”
So above is my final outcome for the Convergence/ Divergence unit – something a few weeks ago I didn’t even think was possible. As an illustrator, this entire project has put me out of my comfort zone. “Animation” is a terrifying word, and still sends shivers down my spine now. But after rendering my final animation, I couldn’t help but sit back grinning and watching it multiple times.
Something I’ve been really interested in since Level 4, is illustrating for children – but I’ve also had a real interest in working on projects that tackle difficult or taboo subjects for children. In order to move forward with my progression as an illustrator – and towards the end of my time on Level 5, this was an interest I wanted to continue to carry forward. About a week before we were briefed for the project I sadly had to say goodbye to my pet cat – who I’d had since I was 5 years old. It was this event in my personal life that informed my practice, I hadn’t yet approached death within my work as I think it’s a subject that has to be dealt with the upmost care and sensitivity – especially with children. But this project not only allowed me to grieve, but allowed me to channel that grief and inform the context of my animation. For instance the scenes that involve the cat as all experiences I’ve had as an owner – it’s a very personal film – yet easily associable by any other pet owner.
Although we were being asked to produce an animation – I didn’t want to leave behind my individuality, style and what interests me as an illustrator. Something I always knew I wanted to retain within my animation was my illustrative style. I also wanted to be comfortable in the way I was producing work – I don’t often work digitally, so it was a case of choosing a direction of animation that would not only allow me to retain my current working method – but also project it into a digital format. Stop frame motion was the perfect technique. I think a big challenge with animating my drawings was having to visualise them as separate components – it was a very thought out process, getting my head around which bits needed to be drawn separately in order to be easily manipulated during the animation process.
If I were to do the animation again there’s probably a number of things I would change (some of them are very minute issues which only play on my mind – so I won’t point them all out to your eyes!) But I would definitely have liked to have a bit more continuity with the lighting of the images – something probably affected by the exposure of the camera during the photographing of the animation. However, the lighting creates these wonderful shadows which people have picked up upon. Visually I find it really interesting, you can see it’s paper cut outs – and this isn’t something I want to try hide or make it appear like it hasn’t been done with 2D cut outs. But it’s a stop frame animation, and I think along with my illustrations and the imperfections in regards to shadows and lighting give it a certain amount of attractiveness. It’s a really charming video and I’m really proud of what I’ve produced. I’ve had a huge amount of positive feedback from various people, they’ve all found it very emotional and all had a personal connection – with regards to their own experiences.
It’s been a challenging – but weirdly enjoyable experience & it’s something I’d definitely like to do again.
But for now I need an excessive amount of tea & a good nights sleep where I’m not dreaming about animating a pink cat.
The editing of my final animation was fairly simple. It took 1 day to import all my images into photo shop – to render the scenes separately. I simply would import all the photos onto a timeline (The purple striped bar at the bottom of the screen is all the individual photos running alongside each other)
After the images were imported, I then had to set the time each individual photo/ frame would last for. Most of my videos’s were rendered with no delay, however some had a short delay of 0.1 seconds.
Before exporting the frames into a video format, I had to ensure the dimensions of the video were correct. In order to maintain the quality of my images, I ended up creating black borders in order to fit the requirements specified in the convergence/ divergence brief H:720 x W:1280
I would export the videos as an mp4 file. I saved each scene individually so as it was easier to make sense of the arrangement of the clips when I imported them into iMovie. I imported and arranged my clips on the timeline in iMovie really easily – it’s really simple software and is great for someone who isn’t overly experienced with high tech editing software! I rendered a copy of my animation without any sound – something which I had always planned to record once the animation was fully completed.
With a dictaphone, I essentially recorded all the sounds myself at home – watching the animation to ensuring the timing of the sounds were matched with the movement of the animation. As my animation doesn’t have a soundtrack and would solely be relying on sounds produced by certain actions (drawers opening, cat bowls being put down etc) it was key that I actioned these sounds perfectly.
I took the sound clips, and in iMovie imported and aligned the timings on the simplistic time line (seen below). I took time and care on the sound editing – to ensure the timings were exact. Overall it took about 4 hours to complete the sound editing – and in some instances I had to slow down certain recording to ensure they matched the animation exactly. For example when the bowl is placed on the floor – there is the initial sound of impact of one side being put on the floor, a slight delay, and then the sound of the bowl being fully placed on the floor.
It was a really exciting process, and after solely working on paper for the past couple of week producing my puppets, it was a really satisfying moment seeing my animation come to life for the first time.
On the 30th, I had a tutorial with Sharon and showed a few of the scenes I had filmed for my final animation. Just to update her on my progress and animation progression. I showed my pre title scene and the breakfast scene. We discussed a number of potential improvements that could be made to the animation. One of these was how Bilbo’s eyes could dilate in the pre title scene. It only took 20 minutes to animate and I quite liked the idea of a change in the pupil dilation to enhance the animation. Below is the original scene & then the new adjusted scene featuring the dilation.
The continuity of light in the new re-shoot is stronger so this is another positive from reviewing footage with a new pair of eyes for feedback – someone else’s opinion really helped aid my development of my animation.
Sharon also discussed the idea that in the lonely breakfast scene, the lilies on the table could possibly wilt. So I trialled this with a short test where I curled the edges of the lilies in an attempt to convey this.
Although it looks really cool, I personally felt that it was just a bit too heavy and dark for my animation and I also hadn’t manipulated any of my other 2D puppets in a 3D manner . I decided on using lilies in the lonely breakfast scene as they’re a flower commonly associated with death.
I used the same pink ink to colour the lilies as I had done with the colouration of Bilbo – so there was already association and symbolism being ever so subtly touched on. With my animation I obviously want to approach the subject of death – but also the promotion of remembering a life lived, and also demonstrating that life goes on and the world keeps turning even after the passing of a loved one. So I think the life of the lilies helps enforce this idea of continuation.
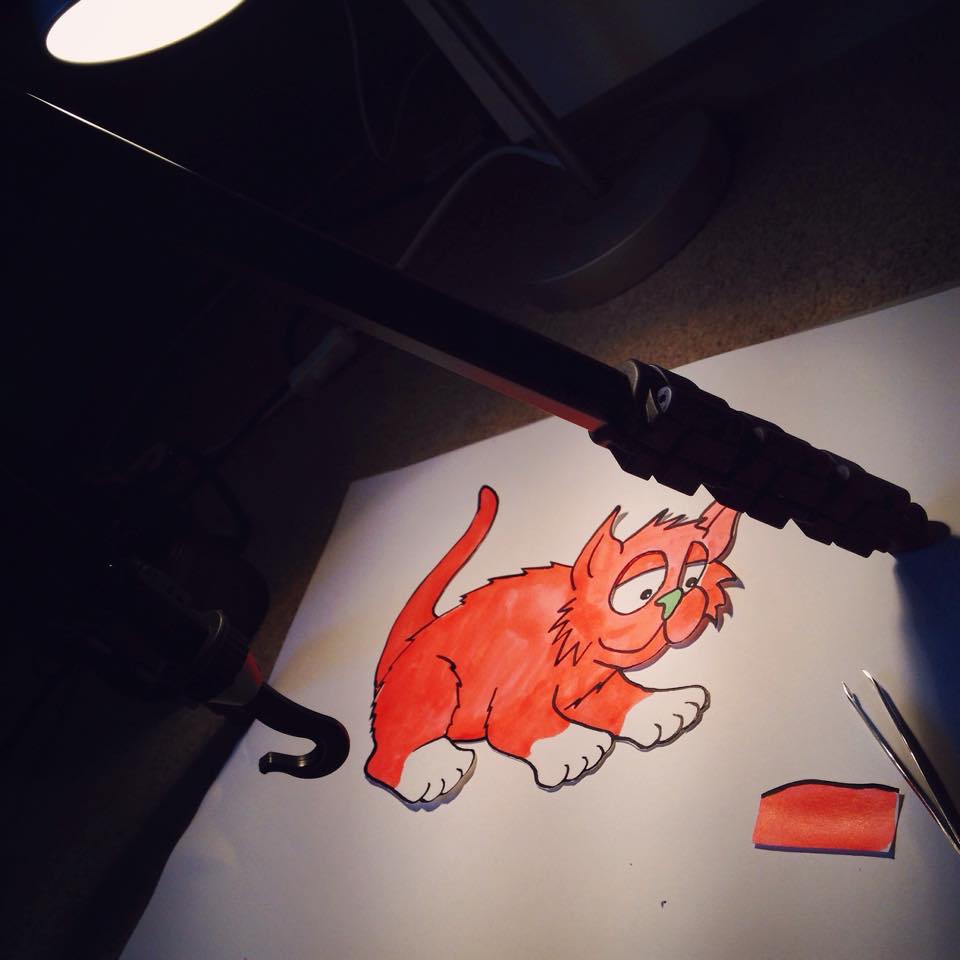
After successfully adjusting my animatic, it was time to begin producing the 2D puppets for my animation and then finally start the animating process. Below are some pictures of the development of some of the puppets featured in my final animation. The production of all my puppets took about 5 days all together.
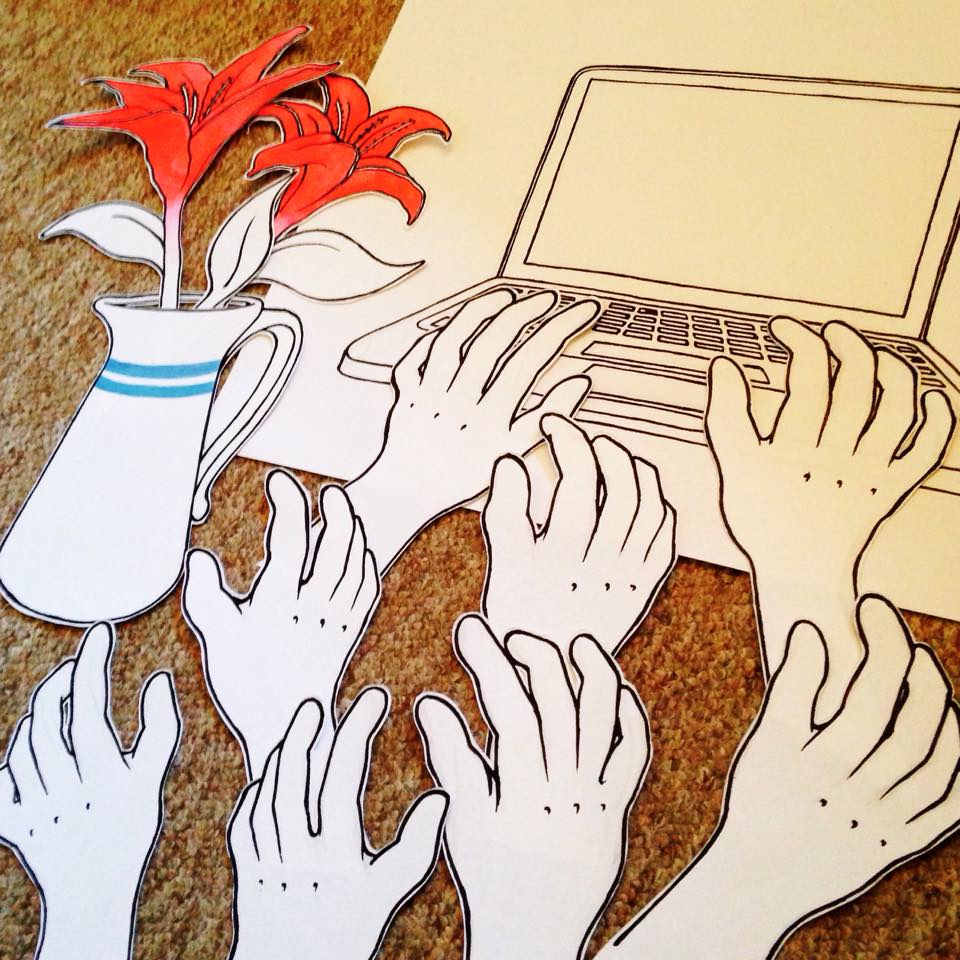
In order to get my drawings of hands actually looking like real hands, I used these photos of myself typing to get the angle right for my animation.
SAfter I made all my puppets I FINALLY began animating. I made a set up in my bedroom, where I worked on the floor, with a tripod and camera, and 2 desk lamps.
As my scenes are mirrored almost exactly in the second half of the animation after the passing of Bilbo, I would film the scenes back to back – in theory I would animate the same scene twice. So for example; I filmed the first scene where the bowl is put down – I then removed the elements that weren’t needed for the removal scene (Bilbo and the food) – so the framing and bowl placement would be the same for continuation reasons.
This was supposed to be my first scene for my final animation. However after rendering the photos together into a video format in photoshop, I realised that my camera hadn’t been secured enough as at the bottom of the frame, you see carpet creeping into the frame 😦
Some people suggested that I could crop the animation, however there are some issues with lighting (as I was using natural light) So I decided to re-animate the scene entirely – it only took about 20 minutes so wasn’t too much of an issue. Since this mis-hap I’ve created a small set up in my bedroom – with lights and a decent tripod!
The set up of lighting and setting I have on my camera enhances my illustrations – providing strong images for my animation.
After the midway critique and discussion with my lecturers and fellow peers, I decided to alter my animatic. With regards to my first animatic, it didn’t really convey the passing of the pet cat as I intended. Rather than death being conveyed, during my crit we discussed how it seemed more like the owners weren’t really interested in the cat at all & they just ignored him. We also discussed how the pacing could be altered to show the progression and passing of time. The photo frame placement at the end of the animatic also felt a bit too over the top and cliché.
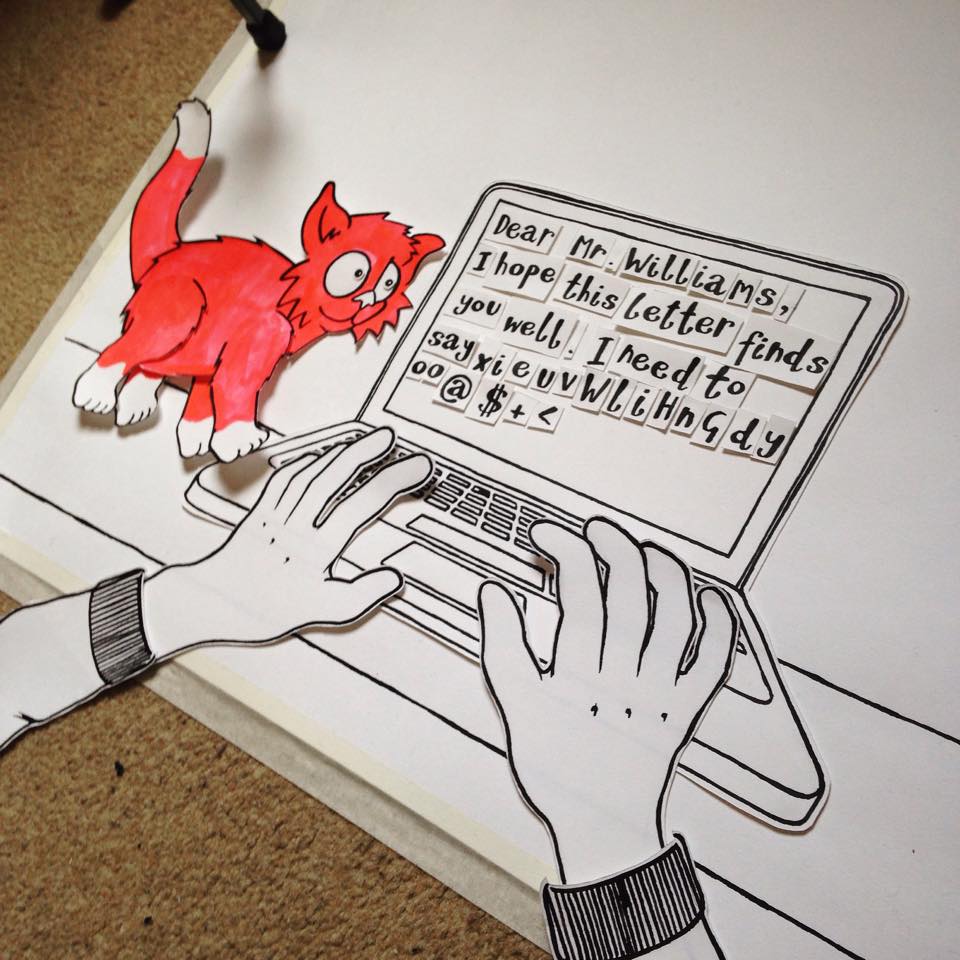
Taking on board the feedback from my crit, I created a new animatic. I decided it would be better to just have the cat interact with one character – creating more of a personal relationship, enabling more association with a viewer of my animation. My new animatic proposes 3 regular daily situations – breakfast, work and bedtime. Johnny Clapham suggested that I should focus on the annoying moments at Cat owner experiences – so I decided in the initial run of these 3 scenes, the cat would come knock the flowers and milk off the table, then walk across the keyboard and then bother the owner whilst he tries to fall asleep – after this, I’d implement the idea of time passing by using a scene involving the cat and a window.
When we return, we see the owner removing the cat’s empty bowl (first seen being placed at the beginning) and then taking it to a drawer full of cat toys etc, then we see the 3 scenes seen in the first half of the animatic repeated – however without the cat being present.
I took my revised animatic to Johnny a week after my midway crib & he was impressed with the development of my idea. I really liked the changes I had made to my storyline and felt the crit helped improve my progression – and with a stronger idea, I felt more motivated to begin producing my final animation.
Last we I took part in a sound workshop ran by Chris Reed of The Paper Cinema – a collective that perform live animation with music. (See link below to their website for more on them, check them out – they’re amazing!)
I worked with the cat under the table animation I had produced, and decided to add some sounds in order to enhance the audience’s interaction with the animated short. I recorded myself scratching a plate with a spoon – to match the stirring of the cereal in the characters bowl. I used the rough side of a sponge on a mouse mat – to try replicate the sound of the characters shorts rubbing against the chair whilst swinging his leg. & then using a free sound database (www.freesound.org) I used a recording of a meowing kitten to bring the Cat in my animation to life.
There’s some background noise from the recordings due to other people being in the studio – but for my final animation recordings will be more controlled and refined. But as a test, I think this proved a successful outcome & allowed me to get to grips with iMovie and Adobe Audtion.
Over the past couple of weeks I’ve been focusing on character development for my animation – the main character being Bilbo the Cat. Character design is something I’ve been interested in ever since my final project of Level 4, so this kind of development has been very prominent throughout my Level 5 projects. In my physical sketchbook the development of character is much more clearly illustrated – and you can visually see where stronger traits have been identified and weaker have been dropped. My final character design focuses on quite a small cat, big eyes and chubby limbs to help strengthen the characters appeal to the audience. I’ve had a lot of good feedback from peers & also from when I’ve updated my Facebook & instagram, so I know the final design is successful. I think the main thing is I’ve created a character that I really like & really want to animate – and hopefully the audience will too!
More recently I have been developing possible ideas for scenes to be included in my animation. Here is a quick stop frame animation I produced, experimenting with the manipulation of paper cut out layers and how these could be manipulated to convey movement.
Below is one of my tests with stop frame motion – using a potential character with Bilbo. It’s a brief scene, and is made up of around 80 frames, the quality isn’t amazing as I the camera I was using isn’t great quality – but will be borrowing a better model for producing my final stop frame animation. It’s quick a quick animating process. Once I figure out what bits I want to move and separate the components in order to animate, it’s a simple method of taking photos overtime you slightly move the model. Once I’ve finished taking photos, I simply compile the photos into a video format on photoshop – setting the rate of frame speed in order to produce a fluid animation.
I really like this style of animation, I think combining an old animation technique with my graphic-like illustration, helps makes a historic technique have a contemporary vibe. I’ve decided to progress further with stop frame motion animation, I really like the movement and mainly it’s a form of animation that will retain my illustrative style – something I think is key in my development throughout my level 5 experience.